


June 2022 - Discovered the Virtual Pinball community and the custom cabinets people are making. Cabinets made in the shape and style of old school pinball machines, but with monitors and a PC driving them. Then I found a guy selling his setup for very little online. Game on.
The haul - A particleboard cabinet shell, table legs, 43” 4k monitor (playfield), 32” monitor (backglass), a proper dot matrix display, coin door, digital plunger, speakers, subwoofer, amplifiers, plus all the buttons and wires and tools. $500. Scooooore.
Quickly learned that this was gonna take some modding. The slots for plexiglass weren’t finished, so I painted them black to hide the brown insides from view.
I cut out and painted my own backglass bezel to hide the TV and empty spaces around it.
Next up, I found that the previous owner had almost completely removed the bottom of the cabinet in order to more easily remove the TV once assembled. Mayyyybe not the best solution.
I cut some spare particleboard to fit as a new base, and routed some channels for the existing cam bolt thingerwhatsits. It went in nicely, and solved most of the twisting in the frame.
Cabinet is now sturdy, at least. Let’s get working on the internals.
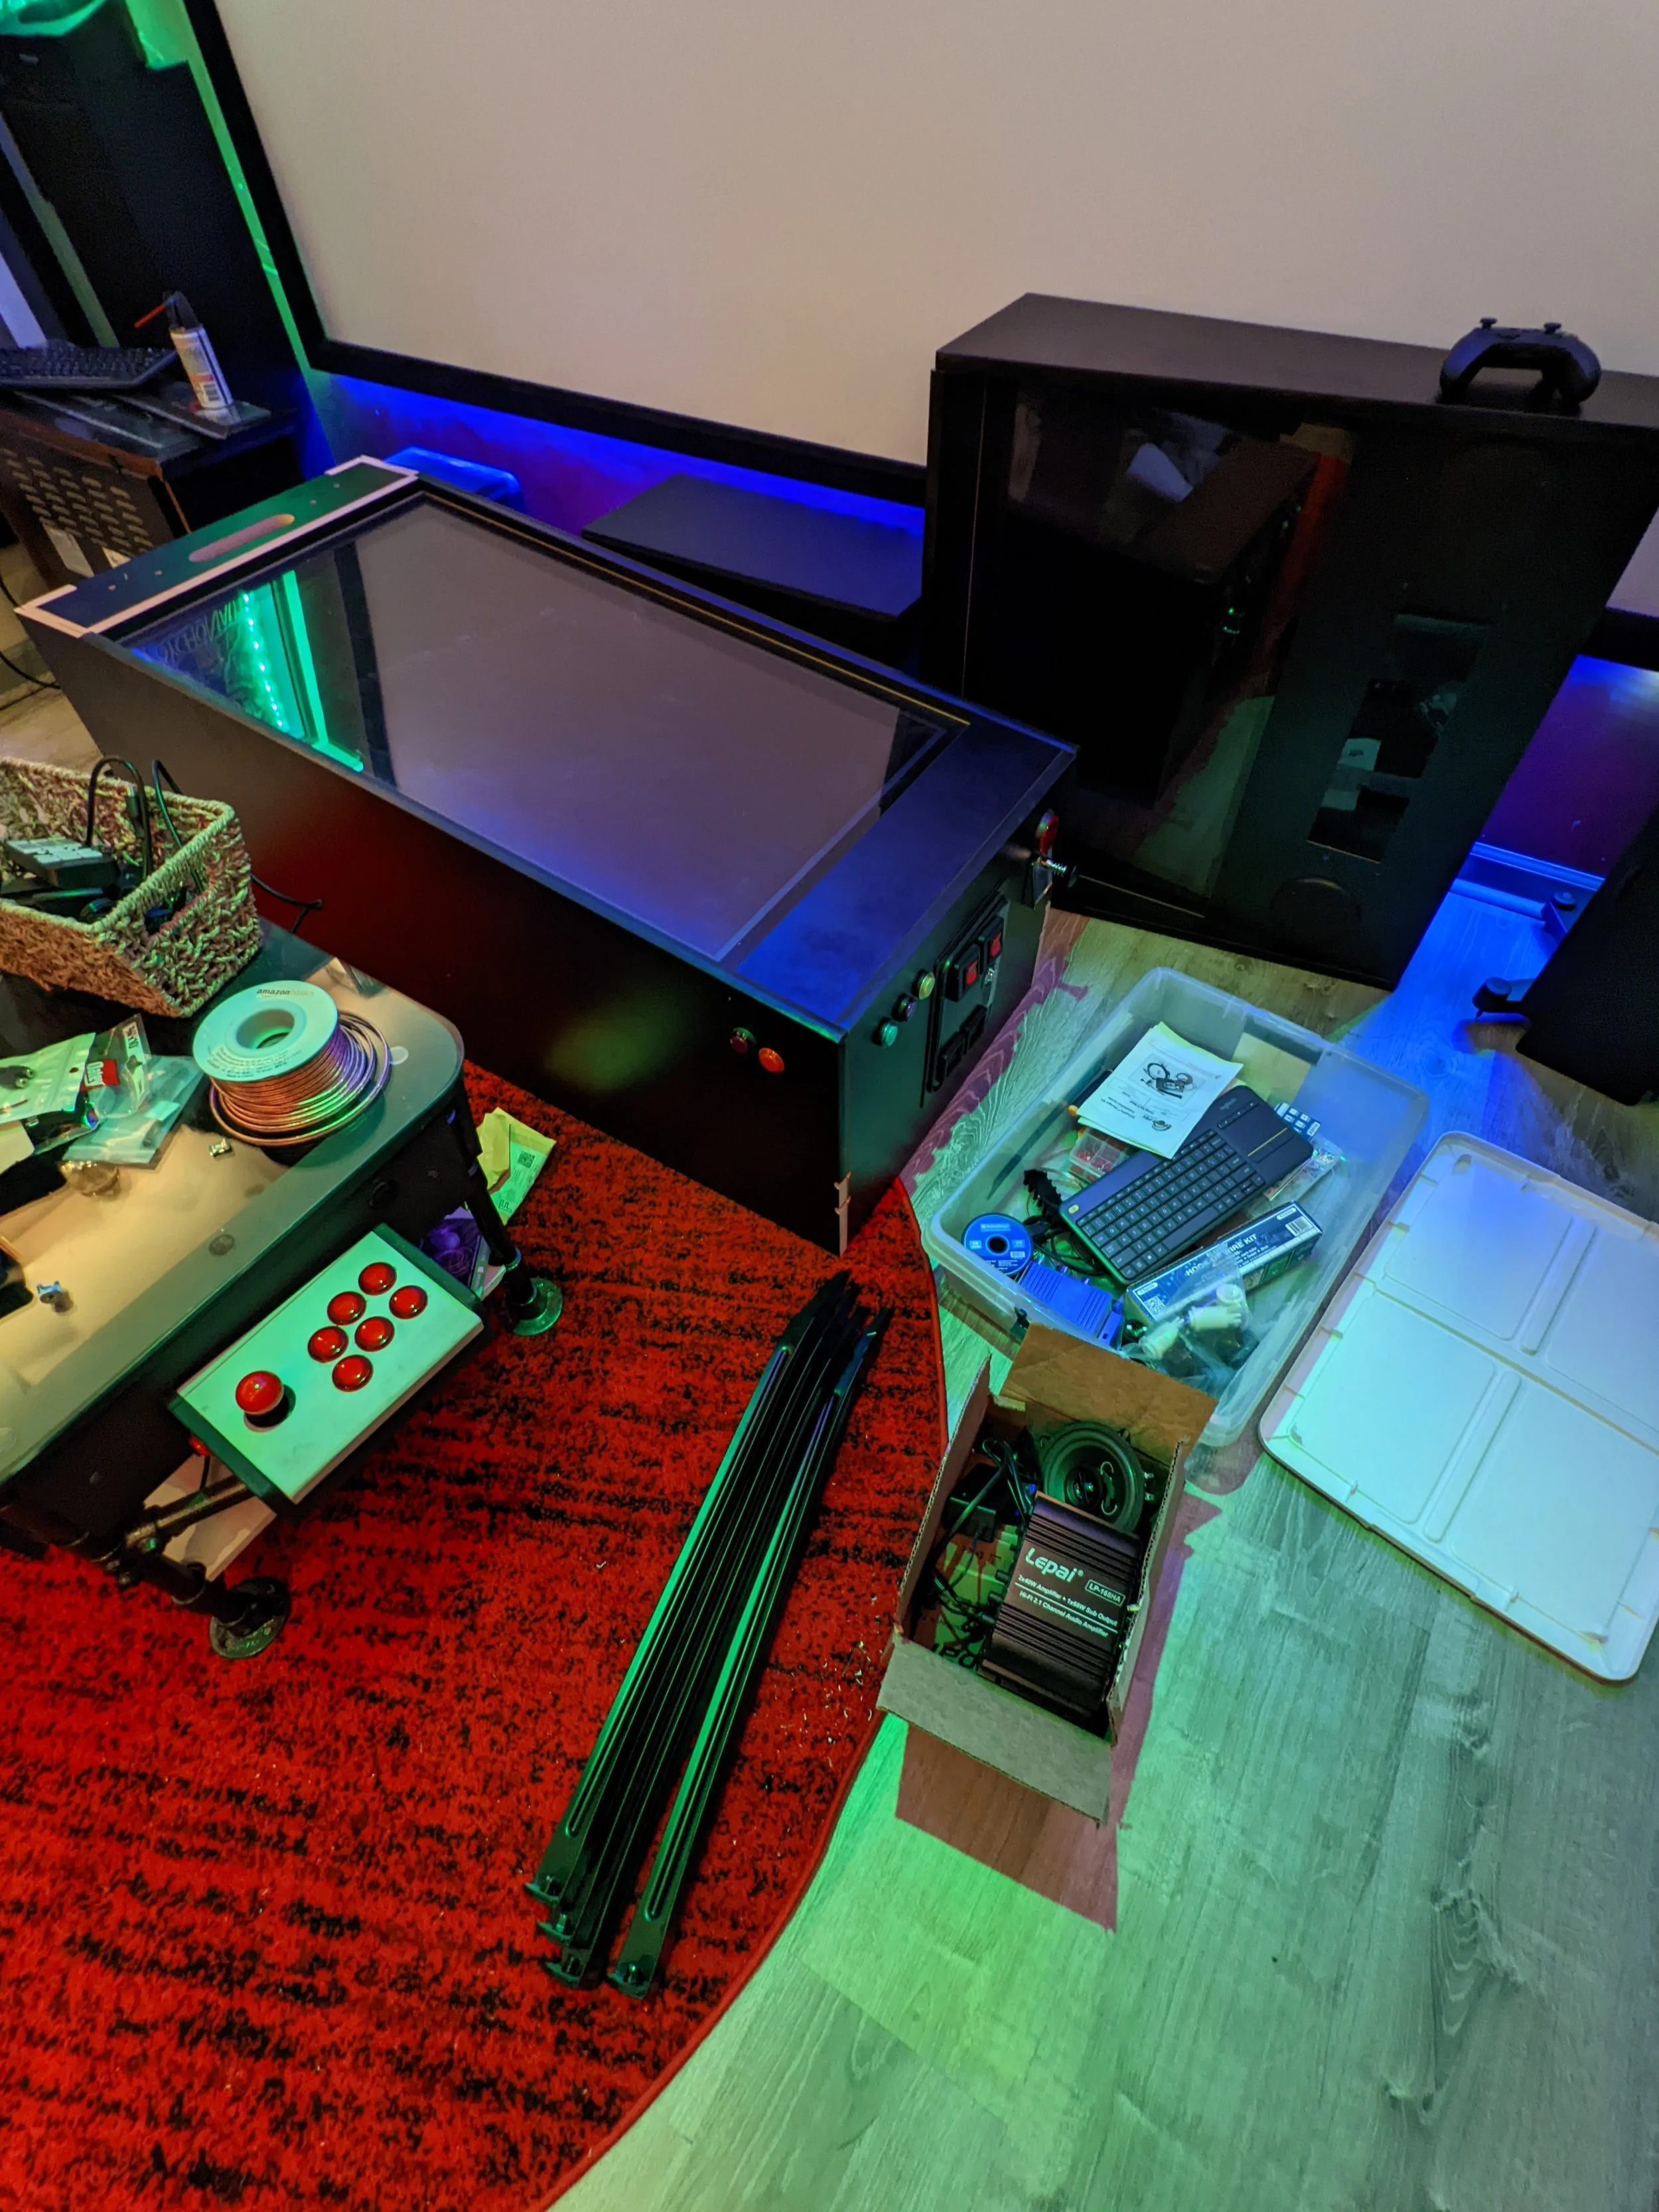
After looking into cases that would fit, costing some $100 and up, it occurred to me that I don’t actually NEED a case for this PC. I screwed some motherboard standoffs into a piece of spare MDF and mounted everything down. It ain’t pretty, but it’ll work.
Windows installed. Backglass and DMD display are running. Let’s add some toys!
Toys being added. An 8 inch subwoofer through a ported hole in the base. Buttons are in, but not wired yet. I did add a new button to the base (bottom-right) to serve as the power button for the PC. This way I can turn the whole shebang on and off from the front of the machine.
Buttons wired up, with a couple extra on the right side of the cabinet to serve as volume controls. Rough-cut 2x4 pieces on the sides will hold the dowel that supports the main 4k playfield monitor. Also added the exciters - 4 speakers that mount directly onto the cabinet and give mechanical sounds and vibration feedback as you play. Being able to feel vibration when you hit a digital flipper is a trip.
Playfield monitor in and software up and running. TO BE CONTINUED.